Showing posts with label breakfasts. Show all posts

Thursday, February 17, 2011

Joyful Muffins

Pear/Mango/Candied Ginger and Pecan Muffins
In Japan some forty years ago, I acquired two 6-cup Joyful Muffins Pans. Check out the photo below. Don’t you love it? I smile every time I reach for them. These muffins are really nice. Even though they should be eaten on the same day they’re baked, I found that splitting them in half and toasting them in the toaster oven allowed me continue eating them for days and days. Almost all 18.


½ cup buttermilk
1 cup sour cream or plain yogurt
1 egg
1 egg yolk
½ teaspoon vanilla extract
2¼ cups unbleached flour
¼ teaspoon baking soda
2 teaspoons baking powder
½ teaspoon kosher salt
½ cup granulated sugar
¼ cup packed light brown sugar
½ cup (1 stick) cold butter, cut into 1-inch cubes
1 cup diced dried pears, mangoes, candied ginger or a mixture
Note: I especially like some candied ginger in the mix but then I love candied ginger.
1/3 cup coarsely chopped pecans

1. Preheat oven to 375°F. Generously butter or spray the tops and cups of a 12-cup muffin pan or two 6-cup pans.
Note: This recipe turned out to make 18 muffins in my smaller Joyful muffin pans (see below). So be aware that you may need another 6-cup pan unless yours are bigger than mine.
2. In a 2-cup or larger measuring pitcher, combine the buttermilk, sour cream, egg, egg yolk, and vanilla extract. Whisk until blended.
3. Sift the flour, baking soda and baking powder together into a large bowl. Add the salt and sugars to the dry ingredients and stir until combined. Add the butter and cut it in with a pastry cutter or your fingers until it is the size of small peas. Mix in the dried fruits and pecans.
4. Make a well in the center of the flour and pour in the wet ingredients. Gently combine, taking care not to over mix the batter.
5. Fill the prepared muffin tins until the batter just peeks over the top of the pan. Bake on the middle rack of the oven for 25-30 minutes or until the muffins are golden brown, firm and springy. Let cool in the pan for 10 minutes. Unmold the muffin onto a wire rack to cool.

Makes 12-18 muffins depending on the size of your muffin pans
Adapted from The Cheese Board Collective’s The Cheese Board Collective Works

Tuesday, February 1, 2011

Comfort Food: Pancakes and Pasta

Everyone’s definition of “comfort food” is different. When I was sick as a child, all I wanted was creamy oatmeal with raisins and brown sugar. Warm, soothing, with a hint of sweet. The following two recipes hit the mark for me as well. Freshly made pancakes with warm real maple syrup or homemade apple sauce. The perfect way to start a day when you know the afternoon will hold a nap. And the creamy garlic-infused pasta that calls out to be eaten on a chilly day when the rich fulsome sauce encourages you to give into your desire to snuggle under the covers with a good book after consuming a bowlful.

Pancakes
These really are wonderful pancakes. I started making them in Japan when my first son, Franz, was a baby and continued making them through the boys' teen years, mostly for breakfast but sometimes for dinner when I was down to eggs and milk in the fridge and flour in the cupboard.


¾ cup white flour
¾ cup whole wheat flour
1 teaspoon salt
2 tablespoons sugar
2 teaspoons baking powder
1 cup milk
2 eggs
3 tablespoons oil
1 tablespoon molasses

1. Sift the flours, salt, sugar, and baking powder into a large mixing bowl. If you don’t have a sifter, place all the dry ingredients in a large mixing bowl and stir well.
2. Pour the milk into a measuring pitcher.
3. Separate the eggs, dropping the whites into a small mixing bowl and the yolks into the milk. Add the oil and molasses to the milk mixture and stir to combine.
Note: The molasses will slip right out of the tablespoon if you use your tablespoon to measure the oil first.
4. Pour the milk mixture into the dry ingredients. Stir lightly until just blended.
5. Beat the egg whites, until they hold a soft peak. Gently fold into the pancake mixture.
Note: If you want to get some exercise beating your egg whites, use a whisk or an old-fashioned eggbeater. If not, use a hand-held electric mixer.

6. Pour about ¼ cup batter into a lightly greased large frying pan or griddle on medium high heat. You can probably cook about 3 pancakes at a time with room to turn them over easily. Cook until bubbles form in the pancake and the edges are set. Flip and cook until the bottom is brown and the pancake is cooked through.

7. You can keep the first pancakes warm in a 250°F oven for a short period of time while cooking the rest.
8. Serve with warm maple syrup, applesauce, jam, yogurt—or whatever you fancy.

Makes 10 regular-sized pancakes
Handwritten from a cooking notebook I kept while in Japan, 1971-73
As you can see from above, I added a photo to the page just recently.


A Creamy, Calming Pasta Dish with Sausage


4 heads of garlic or an equivalent number of garlic cloves
Note: Most supermarkets now-a-days have plastic containers of peeled garlic in the produce department. If you are pressed for time, this is the occasion to use them.
2 tablespoons olive oil
6-8 springs of fresh thyme
1 pound dried shell or tube-shaped pasta [I used Delverte’s No. 32 Penne Rigate]
2 cups heavy cream
Salt and pepper to taste
4 fresh sweet uncooked Italian sausages
2-3 sprigs of fresh thyme, stripped and chopped

1. Place the unpeeled whole heads of garlic or the equivalent peeled garlic cloves in a small baking pan. Drizzle with oil and thyme and place in a 400ºF oven. Roast the garlic until the cloves are very soft and sweet, 50-60 minutes for the heads and much less for the cloves.
2. Cool the garlic heads and then tear them apart and squeeze out the contents of each clove into a small bowl. [This step took nearly all of my considerable patience and is the reason I devised a simpler method.] Or place the peeled cloves in a bowl. Mash them into a paste, adding a small bit of your 2 cups of cream to help the process.
Note: You can use a mortar and pestle, a Japanese suribachi, a potato masher, a small food processor or a fork to smash and mash the garlic. You do not need to make it perfectly smooth unless you want to.
3. Put your pot of salted water (for cooking the pasta) on the stove on high. Bring it to a boil while you are working on the next two steps.
4. Warm the garlic paste in a sauté pan over moderate heat, pour in the cream, whisk the garlic and the remaining cream to combine, bring to a simmer, add salt and pepper to taste, and cook for several minutes.
5. Skin the fresh sausage, crumble the meat into a frying pan and fry until done.
6. Cook the pasta in your pot of boiling salted water until it is al dente. Drain in a colander, saving about ½ cup pasta water to use in the sauce as needed.
7. Tip the pasta and drained sausage into the cream, toss gently and heat until all the elements are warm and the cream is gently bubbling. If the sauce is thicker than you like it, add a bit of the reserved pasta water to thin it out until you reach the consistency that is right for you. Add more salt and pepper if needed. Ladle into plates or bowls and garnish with fresh thyme leaves.

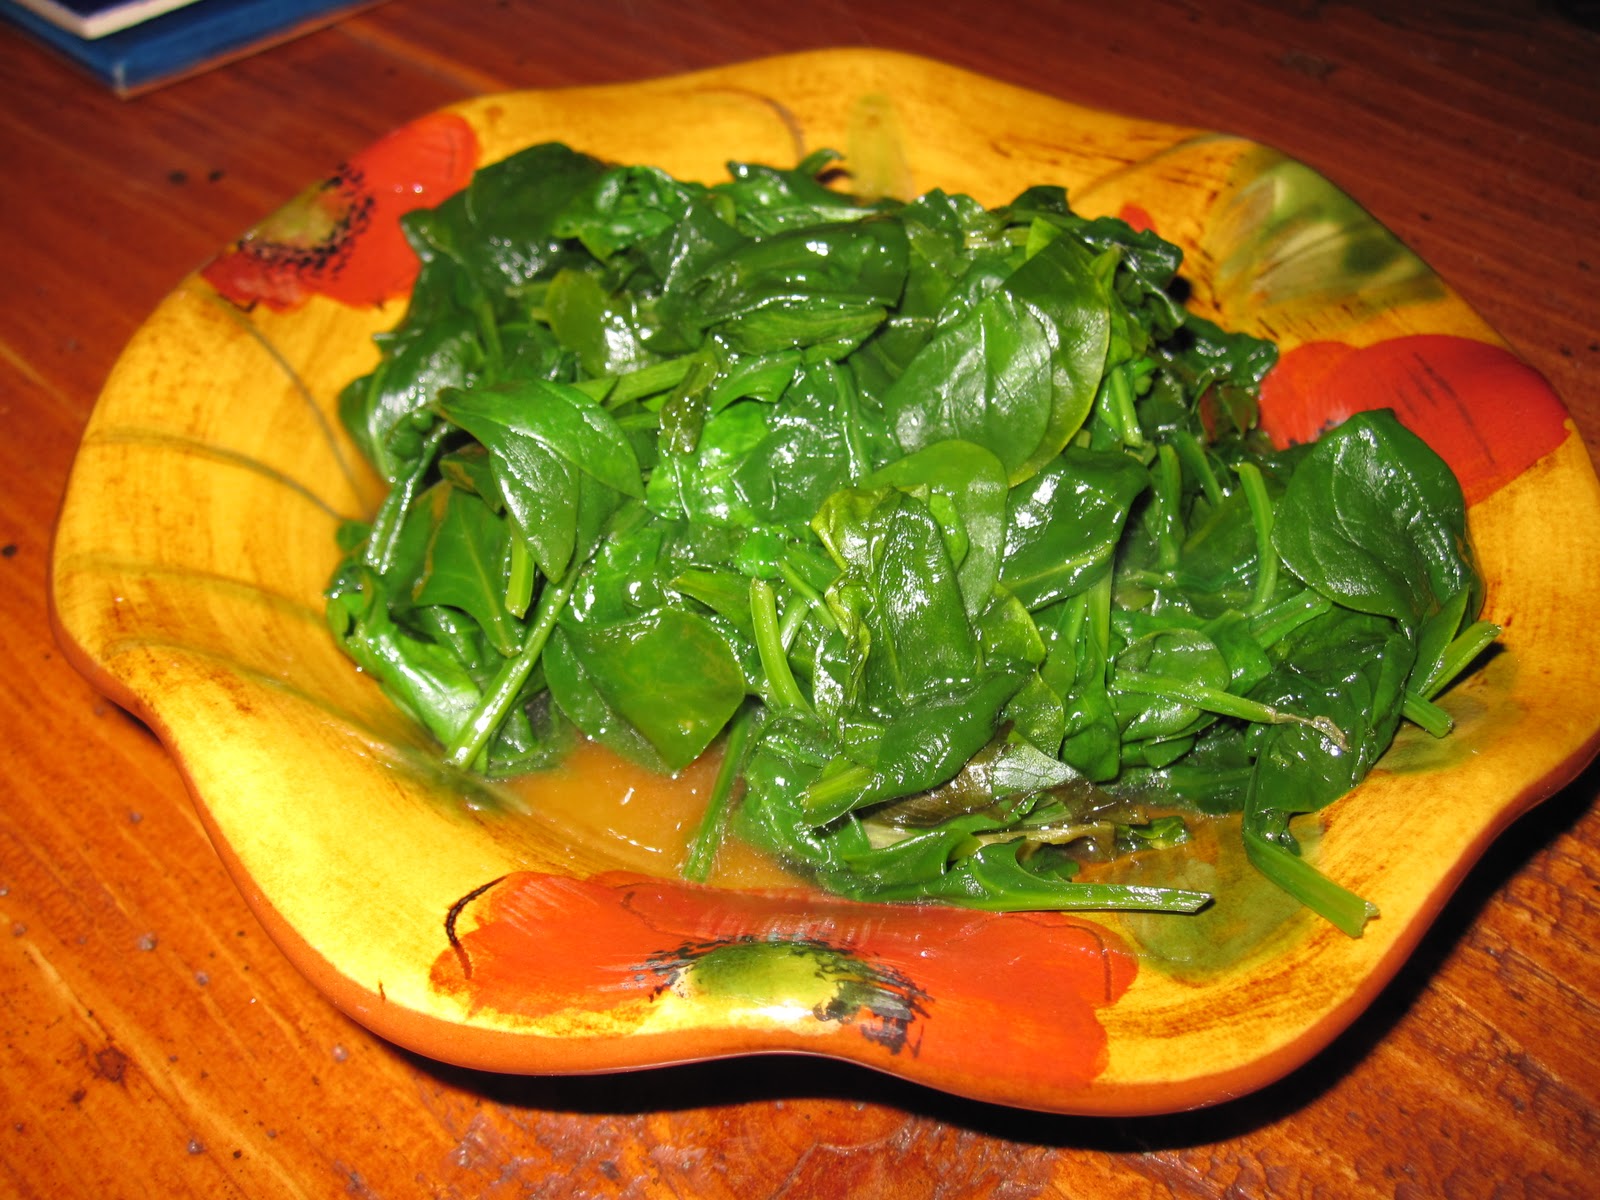
I serve this pasta with steamed spinach; I like its bracing flavor up against the richness of the cream and pasta.


6 servings
Adapted from Nigel Slater’s Appetite

Monday, January 24, 2011

Citrus Season: Three Recipes to Cherish It

When I was little and living with my family in Toledo, Ohio, my mother would tell me about her delight in receiving an orange for Christmas when she was a little girl living in Toledo, Ohio. Oranges came from very very far away: Florida or California. They were both rare and expensive.  As a special treat for our holidays, she would carefully cut up an orange or two into what she called "rocky boats" and we would suck them to extract every last bit of juice and flesh. I still find it totally amazing to live in a place where oranges and lemons grow on trees right outside my window. And I cherish them now every bit as much as she did then.


Orange and Black Currant Scones
These scones have lots of flavor and interest without being overly sweet.


2 cups flour
1½ tablespoons sugar plus sugar for sprinkling
1 teaspoons baking powder
1 teaspoons baking soda
1 teaspoon salt
½ cup (1 stick) butter, diced
Grated zest of 1 orange
1 egg
¾ cup buttermilk
¾ cup dried black currants

1. Combine the flour, sugar, baking powder, baking soda and salt in a large bowl. Mix well. With a pastry cutter or your fingers, cut in the butter and orange zest until the mixture resembles coarse meal. You an also do this step in a food processor.
2. Whisk together the egg and buttermilk in a small measuring pitcher or bowl. Pour over the dry ingredients and sprinkle on the currants. Stir just until the ingredients come together and form a soft ball. Do not over mix. Tip out the dough onto a floured board.
3. Divide the dough into 8 pieces, patting them into rounds with floured hands. Place them 1 inch apart on an ungreased baking sheet. Refrigerate for 15 minutes or up to overnight.
4. Preheat the oven to 375°F.
5. Sprinkle each scone with about ¼ teaspoon sugar, either regular or coarse.
6. Bake the chilled scones until lightly browned on top, about 20 minutes. Cool on a rack. Serve at room temperature or warm. They are best eaten the same day they are made.

Makes 8
Adapted from Judy Wicks and Kevin Von Klause’s White Dog Café Cookbook

Lemon Love Notes
There are many different recipes for what is traditionally in the South called Lemon Squares. What I like best about this recipe is its name. Isn’t that just wonderful? In addition, they are just lusciously delicious.


Crust:
½ cup (1 stick) butter, at room temperature
1 cup flour
¼ cup sugar
¼ teaspoon salt

1. Mix all ingredients in a food processor, with a mixer or with your hands.
2. Pat into a well-greased 9x9 or 9x11 pan (for a thinner crust). Bake 15 minutes in 350ºF oven until the crust is a light brown. Cool slightly.

Topping:
3 eggs
1 cup sugar
3 tablespoons flour
¾ teaspoon baking powder
½ teaspoon salt
Zest from 2 lemons
Juice from 2 lemons
Confectioners’ sugar to dust

1. If you’ve used a food processor to make the crust, don’t bother to wash it before you do this next step. Process or beat eggs until light; beat in sugar, adding slowly. Mix in the rest of the ingredients and pour into the pan.
2. Bake in 350ºF oven for 25 minutes or until the topping is set.
3. When cool, sprinkle with confectioners’ sugar. If your confectioners’ sugar is lumpy, put a small amount in a sieve and sprinkle it over the squares, squashing the lumps through the sieve with your fingers. Cut into squares with a wet knife.

Makes 16-20 squares in a 9x9 pan.
Adapted from Of Pots and Pipkins: Recipes from the Junior League of Roanoke Valley, Virginia

Royal Grapefruit Sorbet


3 large pink grapefruits
3 tablespoons honey (in liquid form)
Black pepper, if desired

1. Remove and discard peels from the grapefruits. See instructions below. Place in a single layer on a microwave-proof dish or a cookie sheet lined with wax paper and freeze for three hours or overnight until solid.
2. Microwave on defrost for 1 minute if you used the microwaveable dish. The sections should be just slightly thawed. If you used a cookie sheet, transfer a single layer of the frozen segments to a plate and defrost for 1 minute; you may need to do 2 batches.
3. If your sections are big, break them up into smaller pieces. Place in a food processor and pulse until finely chopped. Add the honey and process until smooth. You may have to do this process in batches depending on the size of your machine. Place sorbet in a container and return to the freezer for a few hours or until serving time.
4. Scoop into bowls or serve on top of fresh fruit salad. For a spicy note, sprinkle with ground black pepper, if desired.
Note: If sorbet becomes too hard to scoop, microwave on defrost for one minute. It will keep in freezer for two weeks.

5-6 servings (about 3 cups)
Adapted from brochure from Harry and David’s Fruit of the Month Club Brochure

Sectioning Citrus

1. Cut off both ends of the grapefruit or other citrus fruit.


2. With a serrated knife, cut a strip around the top of the grapefruit, using a sawing motion. Keep moving down and around the grapefruit until you have reached the bottom. The hope is the remove the skin and the white pith without removing too much of the precious flesh of the fruit. If you have missed any of the pith, cut it off.


3. Cut the sections by cutting along one side of the membrane and then on the other side of the membrane. Slide out the section. Best to do this step over a bowl to catch the juice.


4. Continue around the grapefruit until you have removed all the grapefruit sections. Squeeze the bundle (bottom right) of membranes to get more juice which you get to drink as a reward.

Tuesday, February 16, 2010

Tuesday Pancakes

Remember my children’s “Oh, Mom, not again,” upon hearing that cheese soufflé was on the dinner menu? (November 25, 2009 blog) Tuesday Pancakes was an entirely different story. Their response was most often “Yippee!” Maybe it was the strangeness and allure of having breakfast for dinner. Maybe it was the way the fat and batter puffed up magically in the hot oven. Maybe it was the powdered sugar and jam accompaniments. I don’t know, but the enthusiasm was genuine.


A few months ago, my former husband was clearing out some papers from his house in Chapel Hill and ran across some of my old cooking notes, recipe clippings, and a 1976 kids’ cookbook by The Youth Publications of The Saturday Evening Post called Holiday Cookbook. He bundled them up and shipped them to me in California. Flipping through the splattered and raggedy cookbook, I spotted the recipe for Tuesday Pancakes. I thanked him for sending me the box and told him of my discovery. He responded, “Could I have a copy of it?” Franz and Ben (the children, now 38 and 35) echoed his response, with smiles and a far-away look in their eyes, clearly remembering the wonder and the taste of them.

The page from the cookbook reveals that the Tuesday refers to Shrove Tuesday. I must admit that when I was making Tuesday Pancakes for my family back in the 80s, I didn’t pay the slightest attention to that fact. For me it was simply an easy way to feed my family and could have just as easily been called Monday Pancakes or Wednesday Pancakes.

Now that I am a member of First Congregational Church of Berkeley (FCCB), I have considerably more insight into Shrove Tuesday. It is the day before Ash Wednesday, the first day of Lent. It is also known as Marti Gras or, in translation, Fat Tuesday. FCCB hosts an annual pancake supper. Pancakes became the custom on Fat Tuesday because they use fat, sugar, and eggs, three luxuries which one might give up for Lent. A blowout dinner in which you stuff yourself with the soon-to-be-forbidden foodstuffs seems entirely appropriate the night before you begin your fast. The celebrating at the FCCB includes, besides the supper, a parade with adults and kids around the room and then outside to bury the Alleluia banner which is dug up on Easter. For Lent, no one is allowed to say “Alleluia.” There is no Lenten rule at FCCB about fat, sugar, and eggs, I’m relieved to say.

Below you’ll find the recipe for Tuesday Pancakes which the Kunst family ate without paying one bit of attention to the liturgical calendar. They can be eaten any day of the year but on Tuesday, February 16, 2010, you will have the chance to celebrate Shrove Tuesday with pancakes and with whatever kind of carrying-on you desire. And who’s to stop you from trying them on February 18 or 20?

Tuesday Pancakes

You can have this pancake on the table in 30 minutes.


3 tablespoons butter
½ cup flour
½ cup milk
½ teaspoon salt
1/8 teaspoon nutmeg
2 eggs, beaten
¼ cup sifted powdered sugar
Lemon juice, optional
Orange marmalade or other preserves, optional

1. Preheat oven to 425°F.
2. Beat together the flour, milk, salt, nutmeg, and eggs. Don’t worry about the lumps.
3. Melt butter in a 10-inch oven-proof skillet.
4. Pour the mixture into the very hot skillet.
5. Bake in the oven for 15 to 20 minutes or until the pancake has puffed up.
6. Remove from the oven and sprinkle with sifted powdered sugar. Serve immediately before the pancake deflates.
7. At the table, encourage your table mates to squeeze lemon over the top and/or spread with marmalade or other preserves, if desired.

Makes 1 pancake. It will serve more than 1, but less than 3.
For 3 people, make 2 pancakes. Double the recipe and use two pans or skillets. Can bake at the same time.
For 4 people, make 3 pancakes. Triple the recipe and use two pans or skillets. Bake in two batches.
Adapted from Youth Publications/The Saturday Evening Post Company’s Holiday Cookbook. Text by Peg Rogers.

The photo shows Blueberry Preserves. Just excellent.

Tuesday, January 26, 2010

Southern Comfort Food from Foster's Market

Foster’s Pimiento Cheese Spread
Katherine’s mother who lives in Roanoke, Virginia always has a deli tub of this spread awaiting us in the fridge. The one she buys at her favorite place is really good. This one is even better.


1 cup (4 ounces) grated sharp Cheddar cheese
Note: You can grate the cheeses in a food processor if you wish.
1½ cups (6 ounces) grated Parmesan cheese
1 cup (4 ounces) grated smoked or regular Gouda cheese
2 roasted red bell peppers, peeled, cored, seeded, and chopped
     See note below for roasting instructions
1 cup mayonnaise
1 jalapeno, red is preferable but green is OK too, seeded and minced
1 tablespoon cider vinegar
1 tablespoon honey
½ teaspoon smoky sweet or regular paprika
1 teaspoon salt
1 teaspoon pepper

1. Mix together the cheeses and the roasted peppers in a large bowl.
2. Combine the mayonnaise, jalapeno, vinegar, honey, paprika, salt and pepper in a small bowl and stir to blend well.
3. Stir the mayonnaise mixture into the cheese mixture and mix well. Taste for salt, adding more if necessary. Refrigerate in an airtight contained until ready to use or up to 1 week.

There are lots of uses: on crackers, toasted bread, biscuits, English muffins, or chips; as a sandwich spread, a topping for baked potatoes, or an omelet filling. Great for breakfast, lunch, or a pre-dinner snack.

To roast the peppers: Place them on a shallow rimmed pan lined with aluminum foil. Place the pan under the broiler on the second shelf down from the top of the oven. Keep turning the peppers until they are blackened on all sides. Remove from the oven. Place them in a bowl and cover; when they are cool enough to handle, remove all the blackened skin, the seeds, and the stem. Refrain, if you can, from rinsing under water. I save the liquid that the peppers release for use in any situation calling for stock.

Makes about 4 cups
Adapted from Sara Foster’s The Foster’s Market Cookbook

Chilaquiles and Andouille Sausage Scramble with Salsa Verde

This makes a great dinner but it can also be served for breakfast.


4 corn tortillas, cut into 1-inch strips
OR
1½ cups slightly crushed tortilla chips
2 tablespoons olive oil, plus more for brushing the tortillas
Salt and pepper
1 andouille sausage link (about 8 ounces), thinly sliced into rounds
6 large eggs, lightly beaten
2 ounces Monterey Jack or cheddar or a combination of the two (about ½ cup)
Salsa Verde, see recipe below, or you can purchase tomatillo salsa

1. Preheat oven to 400ºF.
2. Scatter the tortilla strips on a rimmed baking sheet and brush lightly with olive oil. Season to taste with salt and pepper. Bake for about 15 minutes, shaking the pan occasionally and turning over the strips, until they’re golden brown on both sides and crisp.
3. Heat the 2 tablespoons oil in a large non-stick or cast iron skillet over medium-high heat. Add the sausage slices and cook and stir them for 4 to 5 minutes, until brown and cooked through.
4. Pour the eggs into the skillet and cook, gently folding the eggs as they cook, until just done but still wet looking. Season the eggs with salt and pepper and turn off the heat.
5. Add the cheese and tortilla strips or chips to the skillet and fold them into the eggs until the cheese melts and the tortilla strips or chips soften slightly.
6. Drizzle the chilaquiles with ½ cup of the Salsa Verde and serve warm with the remaining salsa on the side.

4-6 servings
Adapted from Sara Foster’s Casual Cooking

Salsa Verde


4 medium tomatillos, paper covering removed, chopped
OR
1 cup pureed canned tomatillos (with their juices)
½ cup fresh cilantro leaves
3 scallions, chopped (white and green parts)
2 garlic cloves, smashed
Juice of 1 lime
Salt and pepper

1. Combine the tomatillos, cilantro, scallions, garlic and lime juice in a blender and purée until smooth.
2. Serve immediately or refrigerate in an airtight contained until ready to serve.
3. Just before serving, season with salt and pepper.

Makes about 1½ cups
Adapted from Sara Foster’s Casual Cooking

Tuesday, December 8, 2009

Holiday Breakfasts and Brunches

Holidays are a great time to think about breakfasts and brunches. So nice to gather friends and family together in a more casual and informal way. Check out my September 17, 2009 blog for more breakfast and brunch ideas, including the omelet which is great with the Breakfast Cake below.

Breakfast Cake 
This quick bread needs to be baked and eaten immediately. It loses its interest if allowed to sit around for very long. You can do steps 1, 2, and 3 ahead of time. Wait to add the liquids to the dry until your guests have arrived, assuming you want a little time to chat and drink something bubbly before eating. Your house will smell just wonderful. While the cake is baking, you can make some omelets if you want.


2 cups flour
½ teaspoon salt
2/3 cup sugar
½ cup (1 stick) butter, cut into ½-inch squares
1 tablespoon brown sugar
½ teaspoon cinnamon
2 teaspoons baking powder
½ teaspoon ground coriander
1 egg, beaten
¾ cup milk

1. Blend the flour, sugar, and butter together with a pastry cutter, a food processor or your fingers until the mixture is crumbly.
2. Move ¾ cup of this mixture to a second bowl. It will become the topping. Add the brown sugar and cinnamon to the topping.
3. Add the baking powder and the coriander to the original mixture. Mix in well. Combine the beaten egg and the milk.
4. Stir the milk/egg mixture into the baking powder/flour mixture. Pour this batter into a buttered 8 x 8 pan. Sprinkle the cinnamon mixture over the top.
5. Bake in a 350ºF oven for 35-40 minutes or until the middle of the cake bounces back and the cake has slightly pulled away from the side of the pan.
Serve hot or warm.

Makes one 8 x 8 pan.
Adapted from my handwritten cooking notebook from Japan, 1971-73. Unknown provenance.


Crunchy Granola
Believe it or not, there was a time when the only way to eat granola was to make it yourself. Way back in the 60s, Quaker Oats was still just rolling regular or quick-cooking oats—nothing as exotic as granola. I have recently started making this again thanks to my former husband finding the original handwritten recipe and sending it to me. It is just delicious with yogurt, fresh fruit, or milk. You can also put the granola into small jars from IKEA or the hardware store, wrap them with a bow (or not) and give them for holiday presents.


Dry ingredients:
3 cups old-fashioned rolled oats
3 tablespoons sesame seeds
1 cup dried coconut, unsweetened
1 cup wheat germ
½ teaspoon salt
Add any seeds or chopped nuts you have on hand

Wet ingredients:
1 tablespoon vanilla
½ cup canola or other vegetable oil
¾ cup brown sugar (I know it’s not wet but it works best in this group)
¾ cup hot water

1. Combine the dry ingredients.
2. Combine the wet ingredients.
3. Add the wet to the dry. Mix well.
4. Spread evenly on two rimmed baking sheets.
5. Toast in a 275°F. oven for about 60-80 minutes, stirring every 20-30 minutes, until it is golden brown and crunchy enough for your taste. You might want to rotate the sheets halfway through baking. You can use convection bake if you have that setting on your oven. Regular works fine too of course.
6. Cool on sheets. Store in an air-tight tin or a large glass jar.

Found originally, I believe, in a newsletter for Albany Village, (University of California married student housing) sometime between 1966 and 1970. To the left is my handwritten copy, recently acquired.

Thursday, September 17, 2009

Breakfasts: Passing Along the Tradition

The Kunst family, the four or us in Durham, North Carolina, had a long-standing tradition of Sunday breakfasts. On Saturday I would ask Ben and Franz what they would like to have the next morning. They would choose from a couple of coffee cakes, various muffins, biscuits, Irish soda bread, pancakes and waffles. I would get up the next morning and make what they had chosen, along with an omelet and maybe some bacon. Nothing, but nothing, got in the way of our Sunday breakfasts.

In June, Katherine and I drove south to visit Ben. We arrived at his house in the Santa Cruz mountains on a Sunday morning, just in time for brunch. What he fixed for us in his new kitchen was a good old-fashioned Kunst family breakfast. A mushroom, spinach, and cheese omelet, biscuits with jams, jellies and our favorite lemon curd, strawberries and blueberries, orange juice, the works. Among his friends, he has become known for his biscuit and omelet brunches. Just great. The tradition lives on.


Cheese Omelet


3 or 4 eggs
1 clove garlic, pressed
¼ teaspoon salt and pepper to taste
½ - ¾ cup grated cheese, cheddar works well
3 tablespoons fresh herbs, like dill, chopped or dried herbs in a pinch, optional
2 green onions, finely chopped, optional
3 tablespoons vegetable oil

1. Break the eggs into a bowl. Add the garlic, salt and pepper. Stir together until they are well combined.
2. Heat the oil in a cast iron frying pan (or an omelet pan, of course) until the oil shimmers and is very hot—but not smoking.
3. Pour in the egg-garlic mixture. It should sizzle and immediately start bubbling around the edges. As the edges firm up, push them to the middle and tilt the pan so that the juicy egg moves to the outside. Keep pushing the sides to the middle until there is no more juicy part to run out. Shake the pan a couple of times to make sure the omelet isn’t sticking. If is it, carefully scoot your spatula underneath to loosen.
Note: I pick up the pan if it seems that the heat is too high. For me this is easier than changing the temp on the burner—but this may be a leftover from when I cooked on an electric stove which was slow to change.
4. Sprinkle the cheese and optional herbs and green onions evenly over the omelet. Fold one side of the omelet about a third across. Then fold over the next third, enclosing the filling. Let it sit for a few minutes with the heat off so that the cheese can melt and the herbs soften.

Note: If you are making omelets for a group, make multiple omelets rather than one or two giant ones. I think that dealing with more than 5 eggs at a time is really hard. When making multiple omelets, put the finished one on a plate in a 250ºF oven while you make the remaining.

2 servings
My own devising, but not original to me of course

Mother’s Home Biscuits


1 tablespoon baking powder
1 teaspoon salt
2 cups flour
4 tablespoons butter, cut into roughly ½-inch squares
¾ - 1 cup milk

1. Mix all the dry ingredients together. Cut in the butter with a pastry cutter or your fingers until the mixture is crumbly.
2. Add ¾ cup milk and stir until the dough follows the stirring. If the mixture doesn’t hold together with ¾ cup milk, add a bit more. (It all depends on the dryness of the flour.)
3. Turn out onto a lightly floured surface. Knead gently 7 or 8 times. Roll out to about ¾- inch thickness; cut into desired size with a floured glass or a biscuit cutter. Mush scraps together to make additional biscuits. (The boys vied for the misshapen ones.)
4. Place on an ungreased baking sheet. Bake at 450°F for 12-15 minutes.

5-7 2¾-inch biscuits
Adapted from Uncle John’s Original Bread Book by John Rahn Braue